Tired of creating generations one at a time? Bulk generation is for you!

****

<aside> 💡 To access the bulk feature, you'll need to be either on our Professional or Enterprise plan.

</aside>

Setting up your bulk upload

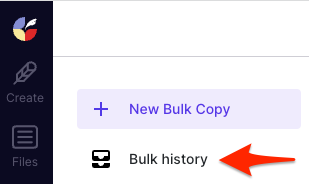
  1. Click the Bulk icon in the left sidebar.

  2. Find the template you'd like to use and click the Create button.

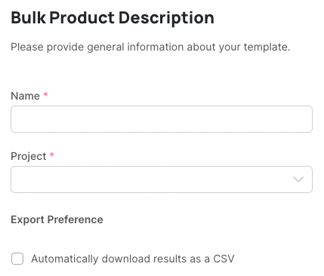
  3. Name your bulk upload and choose where to save it.Tip: Saving it to a folder (and not just a Project) makes reviewing and exporting in bulk easier down the line.

  4. At the bottom, check the box if you'd like your bulk generations to automatically download to a CSV.

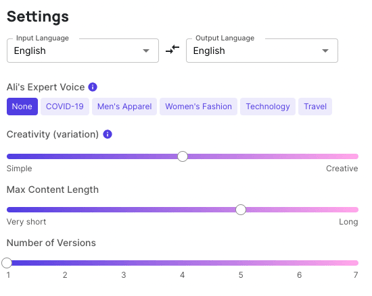
  5. In the Settings step, adjust any settings related to language, creativity, content length, and number of versions as needed.

Uploading your product file

  1. ✨**This is the most important step of the bulk upload process!**✨ Upload your CSV file with your content. If you prefer, you can download our example template and drop your content in based on the column headers.

  2. Select the column in your file that contains each mentioned field. This will allow our bulk tool to properly match your column headers with ours.

  3. Click the Generate button and wait for the bulk generation to complete. Sometimes this can take several minutes! It's okay to do other things in Copysmith and come back.

Reviewing your generations

  1. When your upload is complete, you'll see it at the top of your Bulk History list and your generations will appear in your Files tab at your chosen save location.

  2. If you'd like to edit the copy, click the three dots to the right of each generation, select Edit, and be sure to save your changes!